- Buffer blocks
- Callus removers
- Corn cutters
- Cuticle nippers
- Cuticle pusher (metal, wooden, plastic)
- Cuticle remover (gel/liquid)
- Finger separators (toe separators)
- Nail brushes (dusting brushes, cleaning brushes)
- Nail clippers (fingernail, toenail)
- Nail drill bits (ceramic, diamond, carbide)
- Nail drill machines
- Nail files (emery board, glass, ceramic, metal)
- Nail scissors
- Nail scrapers
- Nail shapers
Starting a Nail Business in Kenya? Here’s the Secret Guide No One Tells You!
Kenya’s economy is buzzing — and so are the dreams of many young entrepreneurs chasing independence. Gone are the days when a “good job” only meant an office desk and a tie. Today, more people are creating their own paths through self-employment, turning talent and passion into real income. One of the fastest growing and most profitable trades in this wave? Nail artistry.
Step into any Nairobi street and you’ll spot it — the rise of nail bars and beauty corners tucked into every estate, mall, and market. From downtown stalls to cozy home setups, nail technicians are building steady businesses and loyal client bases, one manicure at a time. It’s more than beauty; it’s livelihood, creativity, and financial freedom combined.
The beauty of it all? You don’t need millions to start. With the right skills, a smart location, and a few essential tools, you can launch a professional nail business from scratch — even on a budget.
If you’re setting up shop in downtown Nairobi, you’ll enjoy heavy foot traffic and spontaneous walk-ins. If you prefer working in your neighborhood, you’ll attract loyal, repeat clients who love convenience and personal care. Both setups can thrive if you invest wisely and offer quality service that keeps clients coming back.
In this guide, we’ll walk you through the must-have tools every beginner nail artist needs — the essential items that turn a passion for nails into a thriving business. Whether you’re just getting started or upgrading your starter kit, these are the tools that matter most when you’re building your dream, one polish at a time.
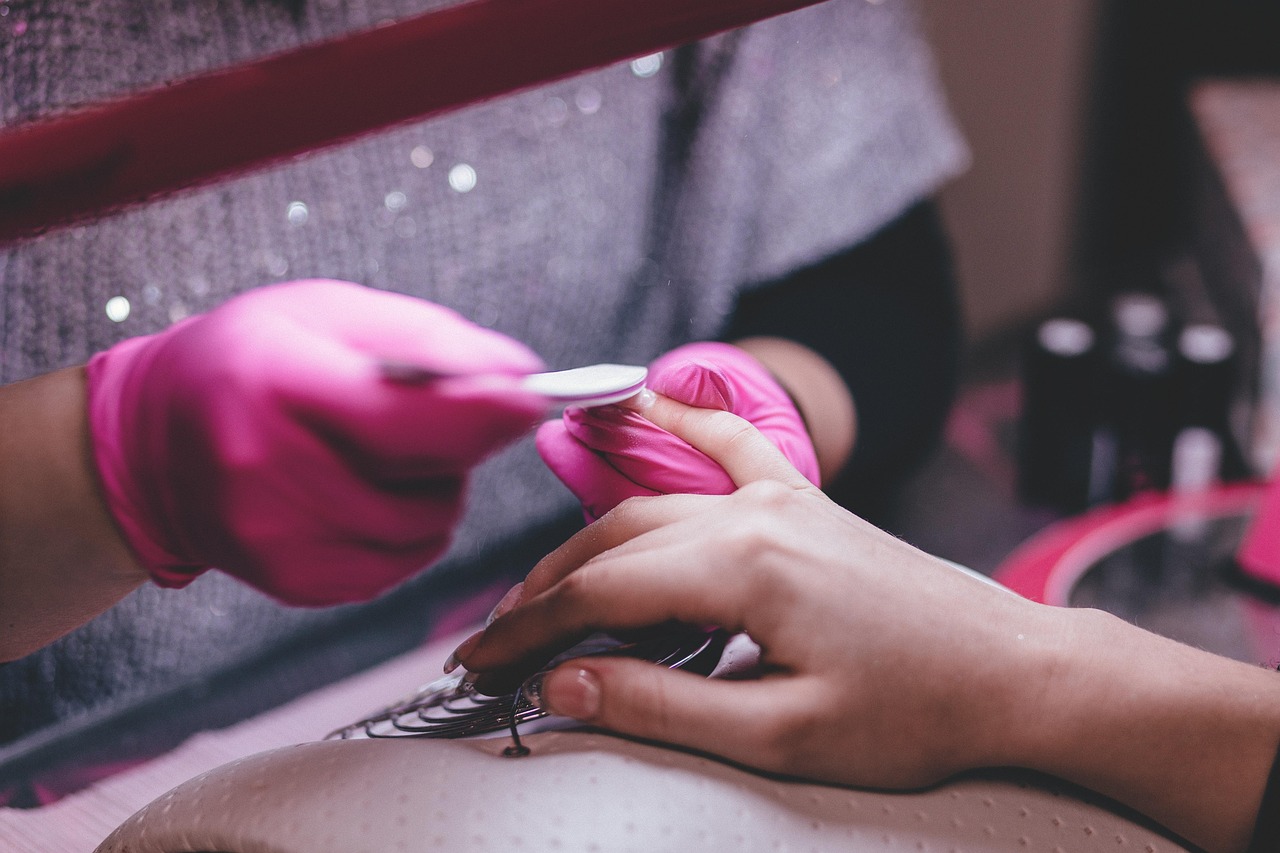
Image Source: https://pixabay.com/photos/people-hands-manicure-cuticle-2587157/
A Portable Nail Tech Bag – Your Mini Salon on the Move
Let’s be honest — being a nail technician isn’t just about pretty nails; it’s also about being organized, mobile, and always ready to glam on the go. Whether you’re working from home, visiting clients, or setting up a small table in town, a portable nail tech bag is your best friend.
Think of it as your “mini salon in a bag.” It holds your files, brushes, polishes, buffers, and all those tiny-but-essential items that somehow love to disappear right when you need them most. With everything neatly packed, you save time, look professional, and avoid that awkward moment of digging through random pouches searching for your cuticle pusher.
Plus, having a clean, organized kit instantly makes clients trust you more — it shows that you take your craft seriously. Pro tip: go for a bag with compartments and a sturdy handle; your tools deserve a home as stylish as your nail art!
And here’s the best part – you don’t have to break the bank. At Roniki, you can grab a durable, spacious, and cute portable nail tech bag from as low as Ksh 1,000. It’s affordable, practical, and absolutely worth every coin.
Gel Polish Set – Base Coat, Top-Coat, and Color Gels
Now that your tools have a proper home in your portable nail tech bag, it’s time to fill it with the essentials that bring nails to life — starting with a gel polish set. Every nail tech knows that nothing beats a long-lasting, glossy gel manicure, and having a reliable set of base coat, top coat, and color gels is non-negotiable.
In Nairobi, the gel polish market is full of options. Roniki gels are a favorite among beginners and pros alike — offering affordable and vibrant colors, along with durable base and top-coats, all for around Ksh 350 each. Ip-One gels are slightly cheaper at Ksh 300, while Bluesky is the premium choice, costing up to Ksh 800 per bottle, perfect for clients who love a luxury finish.
Here’s the smart move for budget-conscious nail techs: start small and strategic. Pick a core set of essentials — nudes, pinks, reds, and a few bold shades — so you can serve most clients without overloading your kit. Mix brands if you need to: Roniki for everyday jobs, Ip-One for variety, and Bluesky for those premium appointments. This way, you balance quality and cost, keep your kit versatile, and save money while still impressing every client.
With your portable bag ready and a solid gel set inside, you’re already halfway to looking like a professional nail tech — and clients will notice the difference.
Nail Files & Buffer Blocks – Shape, Smooth, and Slay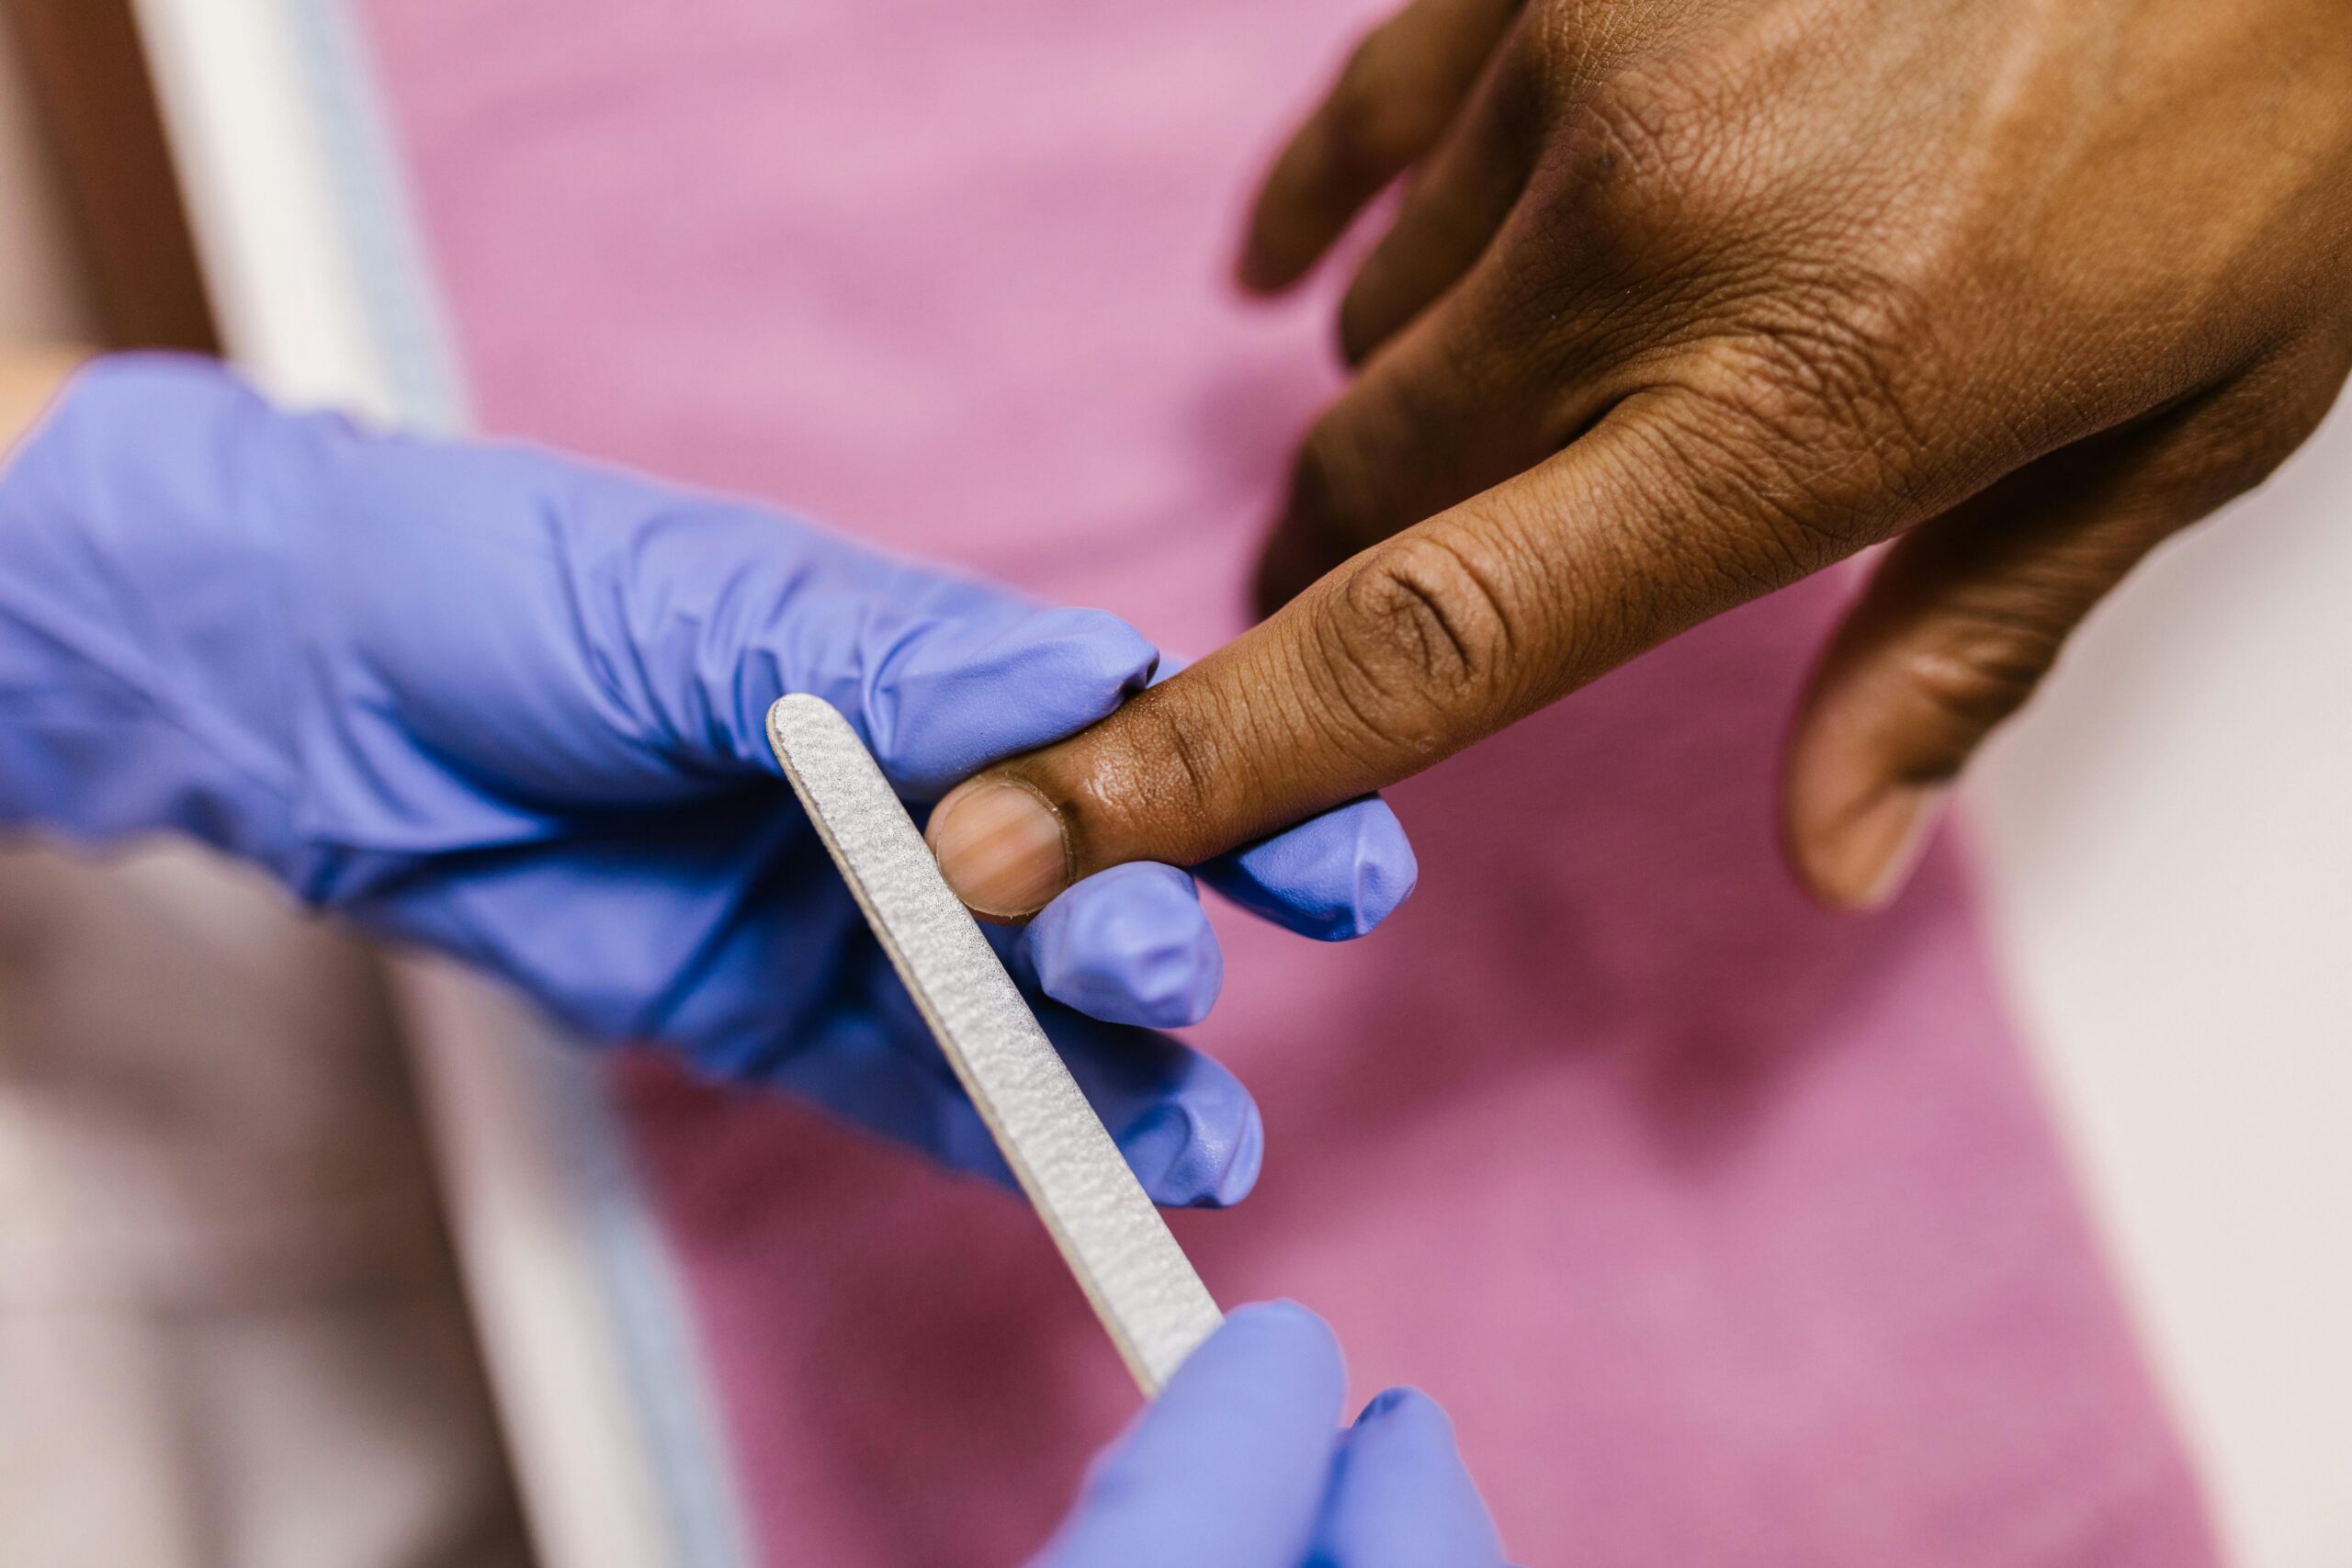
Image source: https://www.pexels.com/photo/close-up-shot-of-a-person-getting-a-nail-file-7755212/
Now that your portable bag is packed and your gel colors are shining bright, it’s time to talk about the unsung heroes of every manicure — nail files and buffer blocks. Think of them as the foundation of your nail art empire. Without them, even the most vibrant gel colors won’t look polished or professional.
Nail files are your best friends for shaping nails, whether it’s a quick square, elegant almond, or that trendy coffin shape. Buffer blocks? They’re the magic wands that smooth rough edges, prep the nail surface, and give gel that flawless shine. Skip these, and you’re risking chips, uneven polish, and clients who wonder why their nails don’t feel salon-perfect.
In Nairobi, you don’t have to spend a fortune. At Roniki, you can get a nail file for just Ksh 30 and a buffer block for Ksh 50. Affordable, durable, and perfect for beginners building a kit without breaking the bank.
Pro Buying Tips:
- Don’t overstock at first — buying too many files or buffers is like hoarding candies; they pile up and go unused. Start with a small set of each and see how fast your supplies run.
- Mix grits if possible: 180/240 for natural nails, and 100/180 for acrylics or extensions.
- Keep extras on hand but rotate them: nothing looks more “amateur” than a worn-out file with frayed edges.
A little humor here: think of your files and buffers as the quiet sidekicks to your gel polish superheroes. They may not sparkle like that neon pink shade, but without them, your manicure story doesn’t even start.
Nail Clippers & Manicure Set – The Secret Weapon of Every Nail Tech
Here’s the truth: no matter how stunning your gel colors are, sloppy prep ruins everything. That’s where a good manicure set comes in — your secret weapon for precision, speed, and professional-looking nails. Think of this set as your “behind-the-scenes crew.” They don’t get the spotlight, but without them, the show doesn’t go on. Every snip, push, and trim sets the stage for your nail art to truly shine.
A standard set usually includes:
- Cuticle pusher – gently moves cuticles back
- Cuticle cutter – trims excess skin for a neat finish
- Nail cutter – gets nails to the perfect length
- Nippers – handles tricky edges and stubborn spots
- Scissors – for delicate shaping and finishing
For someone starting their first nail parlor, here’s how to approach it:
Option 1: Buy the full set at once. A durable manicure kit at Roniki goes for just Ksh 400. Everything matches, everything works, and you can start your first appointments fully equipped.
Option 2: Buy in pieces. Great if you want to start small:
- Cuticle cutter: Ksh 30
- Cuticle pusher: Ksh 50
- Nail cutter, nippers, scissors: add as you go
Pro Tip: If you can swing it, grab the full set. It’s like hiring an assistant who never complains, never loses a tool, and always knows exactly what to do. For first-timers, it keeps your workflow smooth, your kit organized, and your clients impressed.
UV/LED Lamp – Your Gel’s Best Friend (and Secret Weapon)
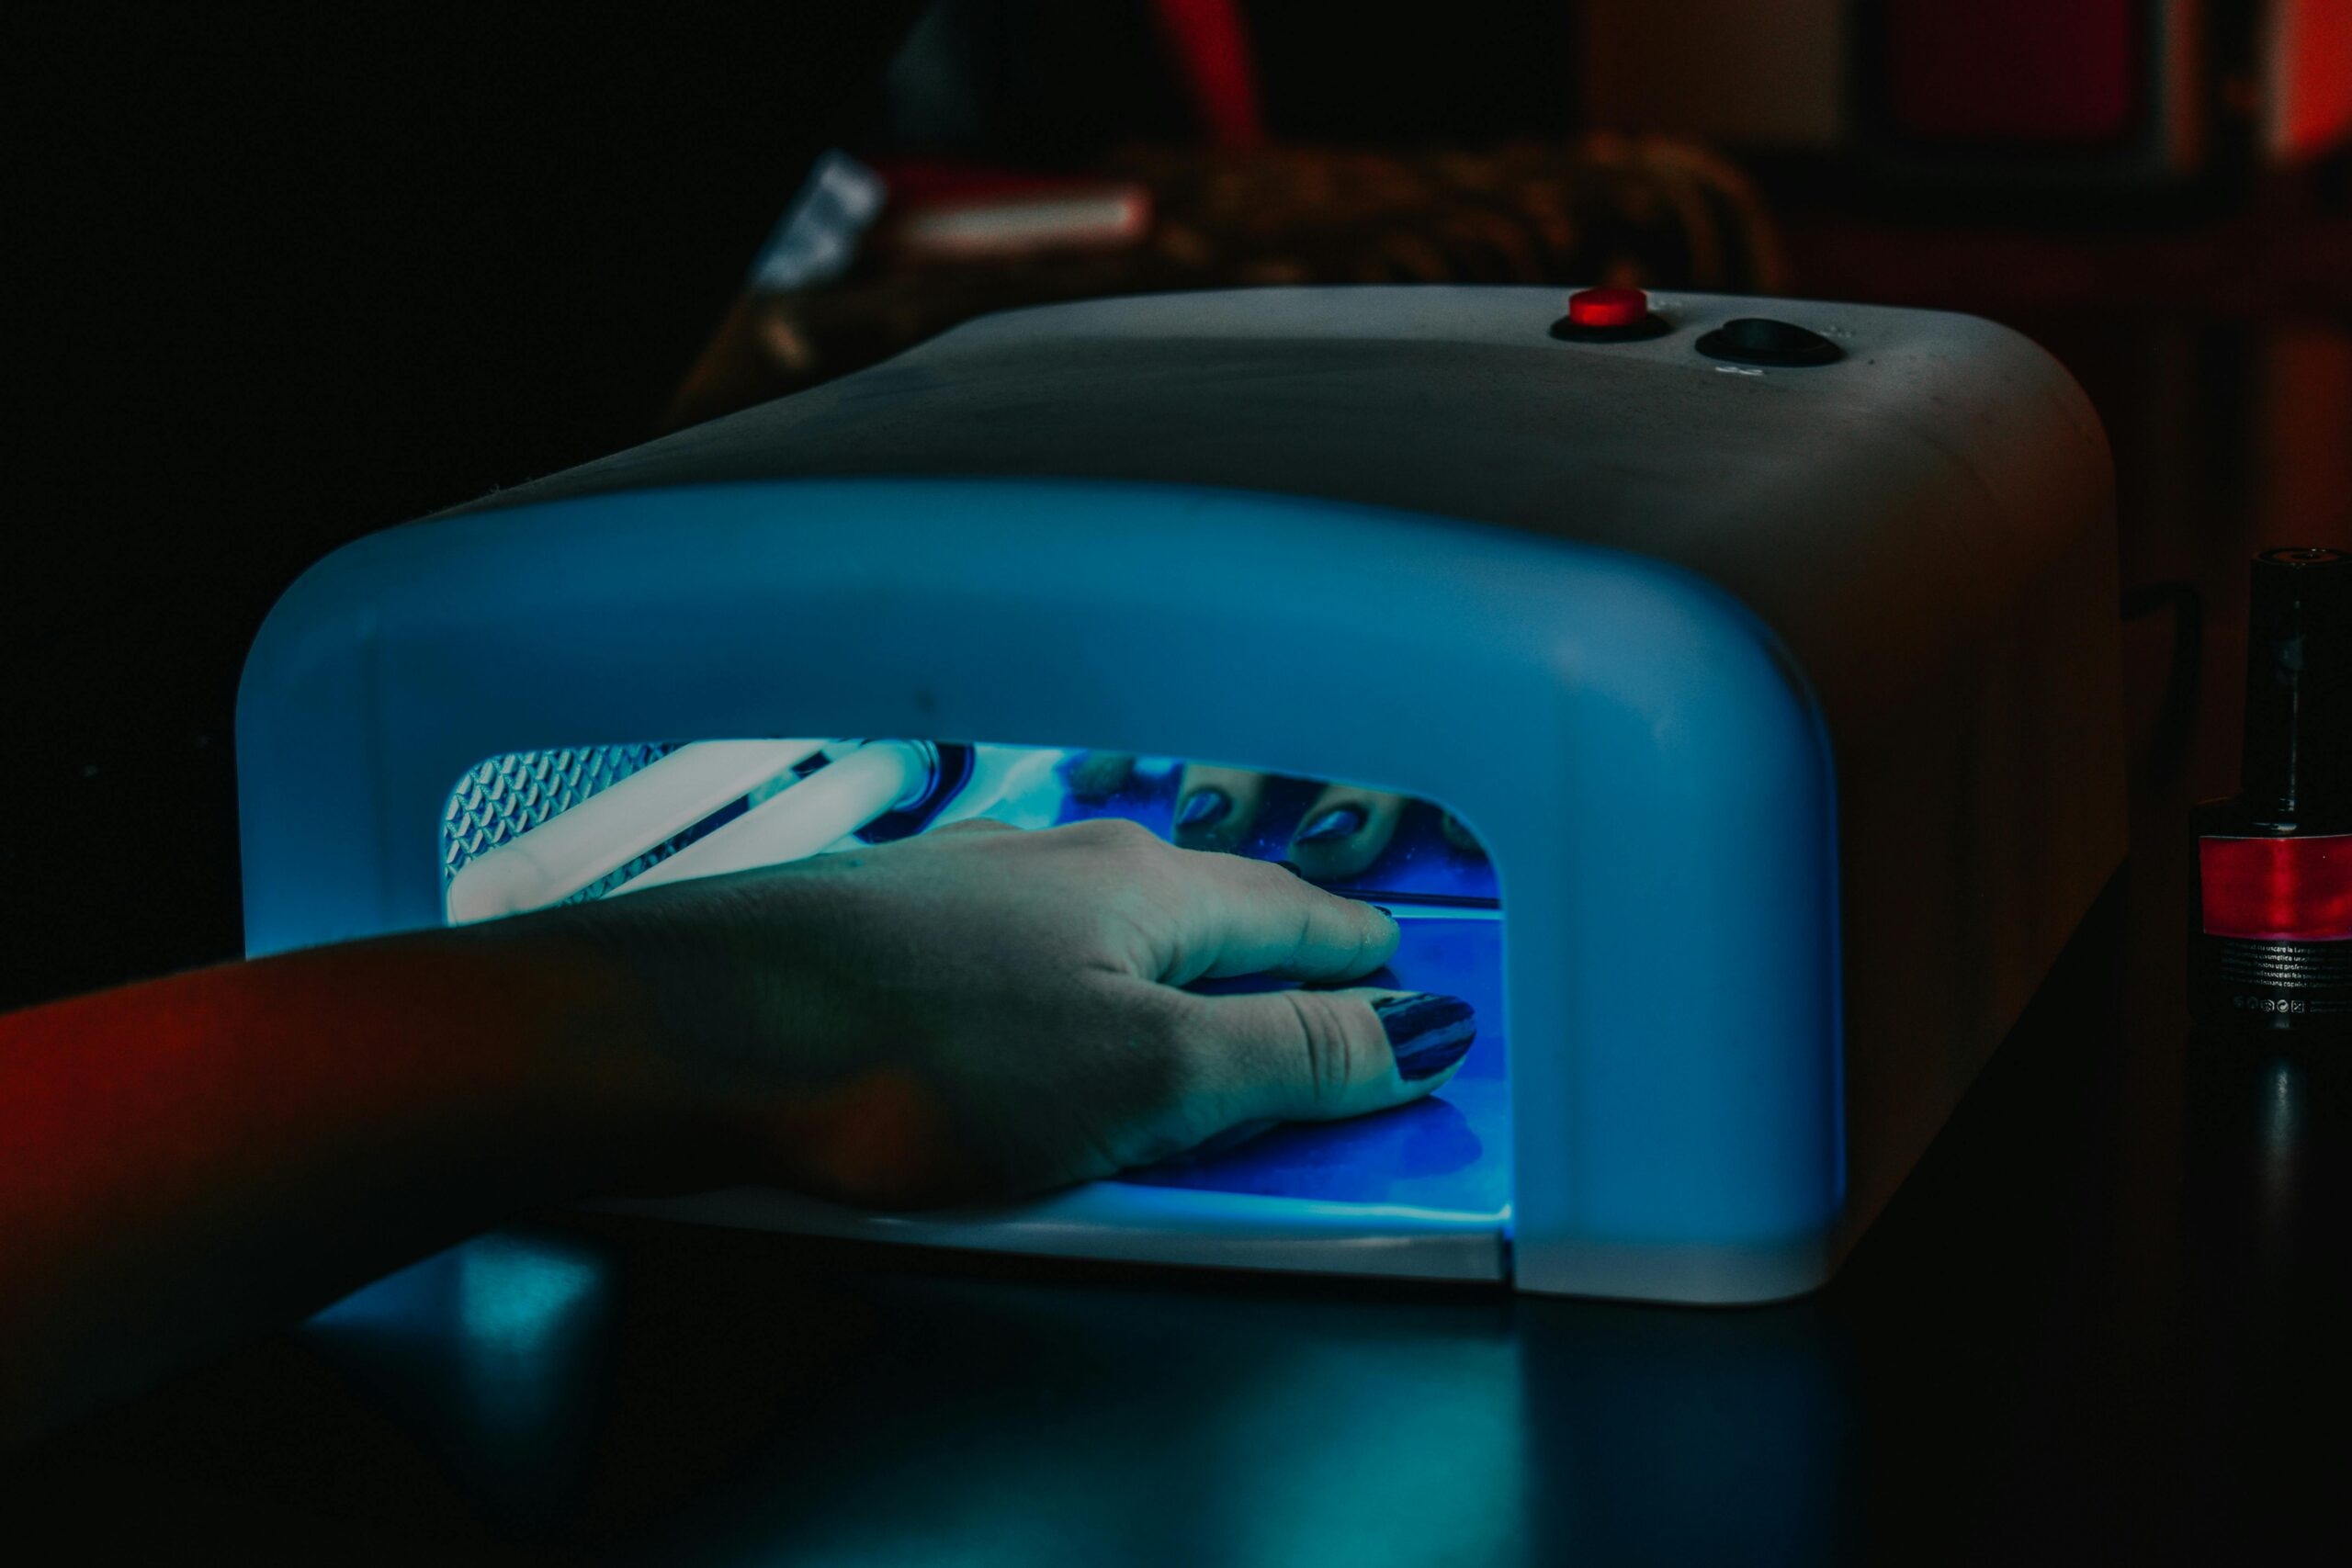
Image Source: https://www.pexels.com/photo/a-person-s-hand-inside-the-uv-lamp-9099607/
Alright, future nail mogul, here’s the deal: you can have the cutest gel colors, perfectly filed nails, and every tool neatly tucked in your bag—but without a good UV/LED lamp, your gel is basically a sleepy little puddle of color that refuses to shine. No shine, no durability, no happy clients. In short… no business.
Think of the lamp as the magic wand that turns your gels into long-lasting, glossy masterpieces. It’s the difference between a client leaving saying, “Wow, nails for days!” and, “Hmm… why does this look like school art?”
What to Look For (So You Don’t Get Burned)
- Wattage / Power: For practicing at home or school projects, a 24–36W lamp is perfect. If you’re opening your first parlor and planning to handle clients like a pro, go for 48W+. More watts = faster curing = fewer complaints = happier clients.
- Timer & Sensors: Auto hand sensors and adjustable timers (30s, 60s, 90s) are lifesavers. No more awkward hand-flapping or guessing games.
- Size & Fit: Make sure hands (and toes) fit comfortably. You don’t want clients performing yoga under your lamp.
- Rechargeable & Portable: Planning on house calls? Go rechargeable. It’s like giving your lamp a battery-powered superpower.
Choosing the Right Lamp for Your Stage
- Personal / School Use: Compact LED lamps are ideal—small, affordable, and perfect for practicing.
- First Nail Parlor / Work: Invest in a hybrid UV/LED lamp with more watts, bigger space, and reliable curing. It’ll survive the daily grind and multiple clients without throwing a tantrum.
Pro Tip: The lamp is your silent partner. Treat it well, and it’ll make every gel look like a million bucks. Ignore it, and your clients might think you’re doing magic with sticky glue instead of gel polish.
So yes… your gel colors can be gorgeous, but your UV/LED lamp is the MVP that makes sure your hard work actually lasts. Without it, all that effort could just… peel away.
Cuticle Oil, Massage Cream, Acetone & Antiseptic – The Secret Sauce of a Perfect Manicure
Here’s a little secret: anyone can slap on gel polish, but what makes a client swoon and keep coming back isn’t just color—it’s the whole experience. That’s where cuticle oil, massage cream, acetone, and antiseptic come in. These aren’t just “extras”—they’re your tools of charm and professionalism.
Cuticle Oil – Hydration Meets Glam
Think of cuticle oil as a tiny spa in a bottle. It softens the cuticles, prevents hangnails, and keeps nails looking healthy and Instagram-ready. Bonus points if it’s scented—rose, coconut, or almond oils are trending and give your parlor a luxe vibe.
Massage Cream / Oil – Pamper Like a Pro
Here’s where you win hearts (and tips). A quick hand massage with cream or oil after a manicure makes clients feel relaxed, special, and spoiled. It’s a simple touch that transforms a standard manicure into a full-on mini-spa experience.
Trend alert: light-scented or aromatherapy-infused creams are hot right now and perfect for social media reels.
Acetone – The Mighty Remover
Acetone isn’t glamorous, but it’s your backstage hero. From removing old polish to prepping nails for gel, this is the one product you cannot skip. Pro tip: keep a small, labeled bottle in your kit—it’s your secret weapon for quick touch-ups or emergency fixes.
Antiseptic – Your Professional Badge
Nothing says “pro nail tech” more than clean, safe, and sanitized tools. Antiseptics protect your clients and your reputation. A simple alcohol-based spray for your tools and hands signals professionalism and builds trust. Plus, let’s be honest, no one wants a manicure accompanied by germs.
Pro Tips for First-Time Nail Parlors:
- Start with small, quality bottles — you can always restock as your clientele grows.
- Create a signature scent or pampering routine — it makes your service memorable and shareable on social media.
- Keep acetone and antiseptics in clearly labeled bottles to avoid disasters and stay safe.
Remember: these finishing touches are the “wow factor”. Nail polish gets attention, but oils, creams, and hygiene earn loyalty.
Here’s the truth: clients don’t just come for color—they come for the experience, the care, and that professional touch. Nail oils, massage creams, acetone, and antiseptic aren’t just products—they’re your ticket to building a first-time nail parlor that feels like luxury, even on a budget.
Nail Brushes – Sweep, Clean, and Keep It Flawless
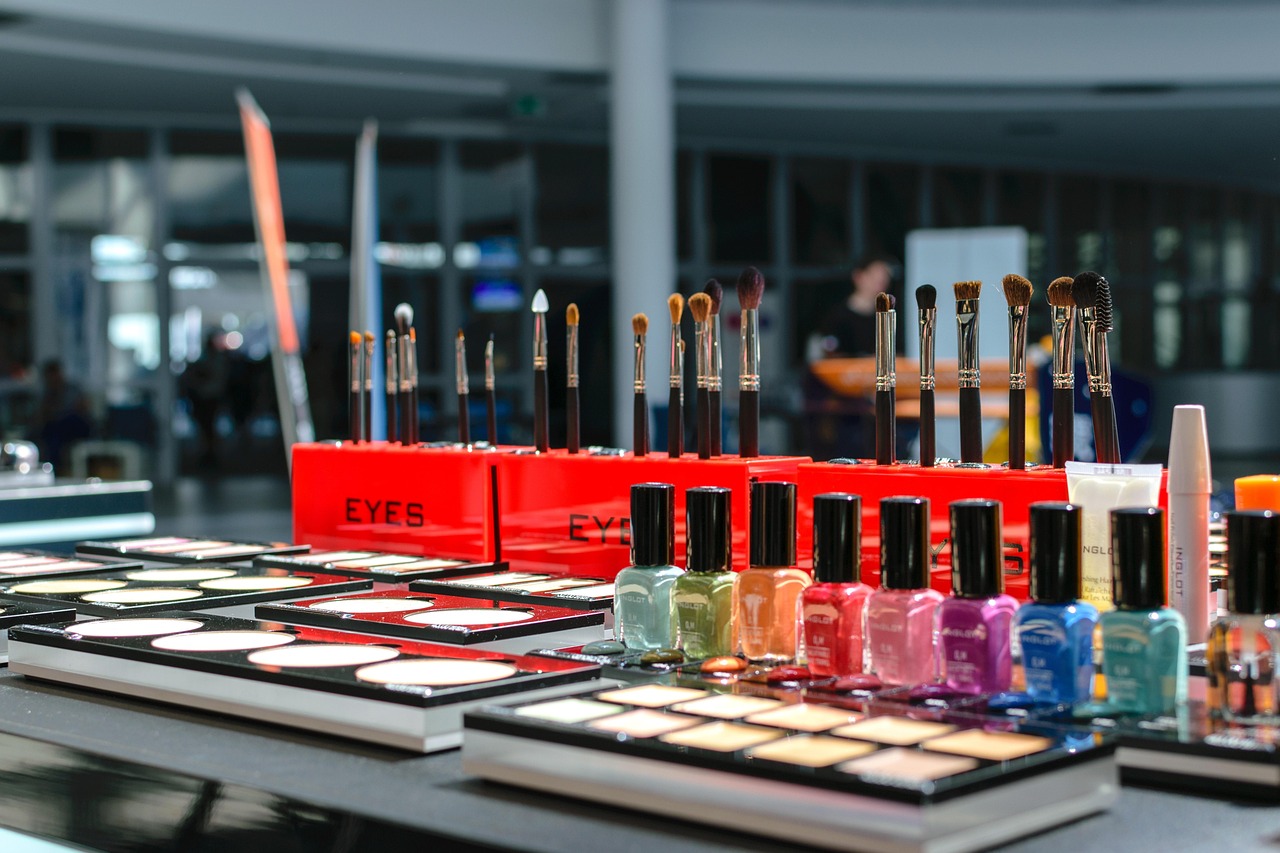 Image Source: https://pixabay.com/photos/beauty-salon-spa-cosmetics-3241097/
Here’s the thing: you can have the most beautiful gel colors and perfectly shaped nails, but if your workspace is messy or full of nail dust, the final result will always look unpolished. That’s where nail brushes come in — your unsung heroes of clean, professional nail work.
There are two main types every beginner nail tech needs:
- Cleaning Brushes – small, fine-tipped brushes used to clean under the nails, around the cuticles, and in tight spaces. Think of them as your precision helpers for those hard-to-reach spots.
- Dust Brushes – slightly bigger brushes used to sweep away filing dust, nail clippings, and excess product from the nail surface. They keep your work area tidy and your client happy (no one likes “nail snow” all over their hands).
At Roniki, you can grab durable cleaning and dust brushes for just Ksh 150 each — a small investment that pays off in professionalism.
Why Nail Brushes Are Essential:
- Keeps nails clean and polished-looking
- Ensures gel or polish adheres properly without interference from dust
- Helps maintain a hygienic workstation, which clients notice and appreciate
- Makes your workflow faster and smoother
Varieties to Consider:
- Small cleaning brushes for precision work
- Medium dust brushes for quick clean-ups
- Soft-bristle brushes for delicate client nails
- Firm-bristle brushes for heavy filing sessions or acrylic work
Pro Tip: Start with one or two of each type. You don’t need dozens at first; quality and proper care matter more. Clean your brushes after each use, and they’ll last months without fraying.
Think of these brushes as your “magic wands” — they don’t paint the nails, but they make everything else look flawless. Clean nails, happy clients, and a professional vibe? Check, check, check.
Nail Tips & Forms – Your Playground for Nail Art Masterpieces
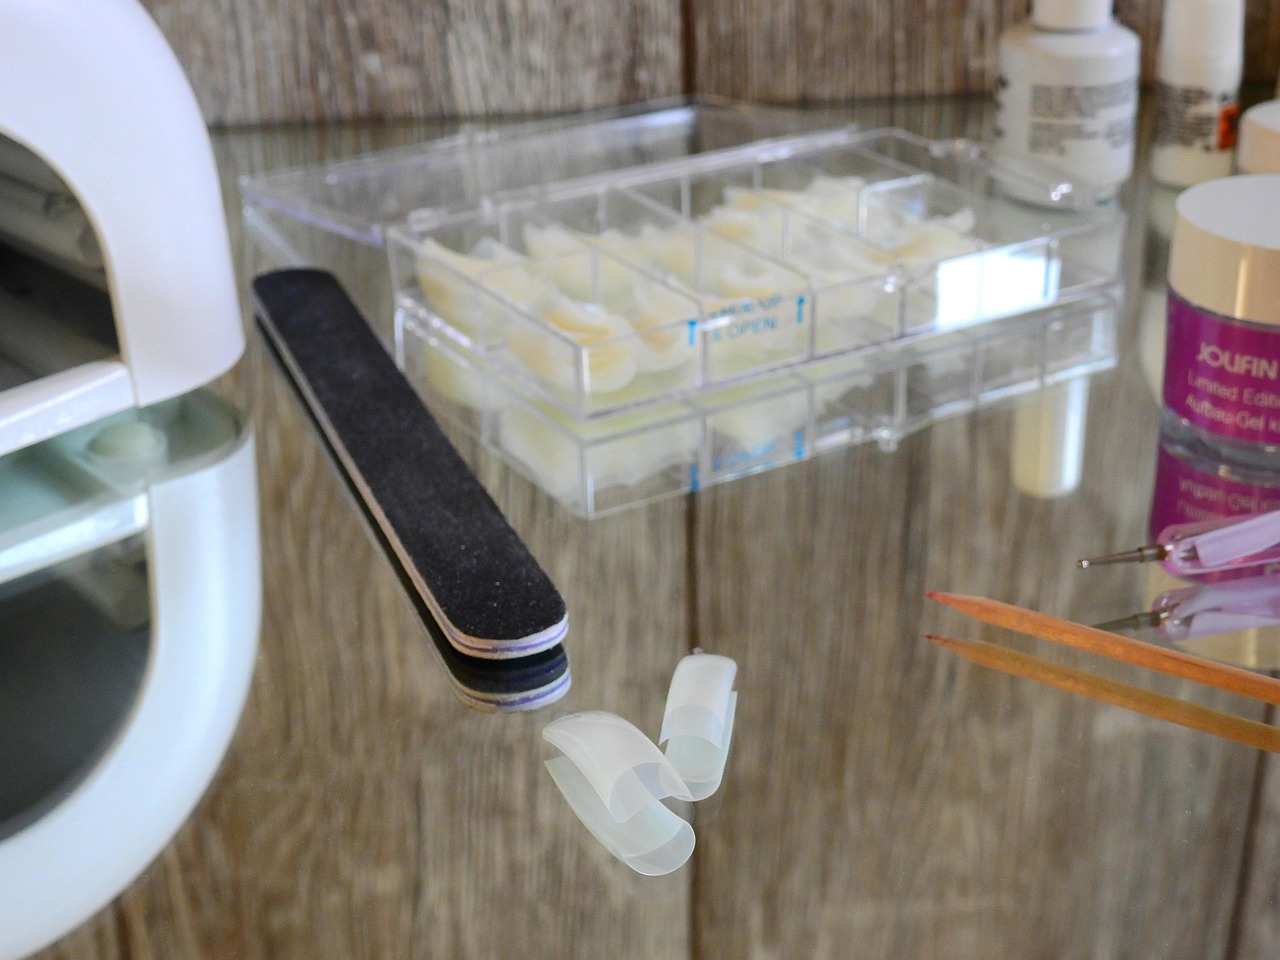 Image source: https://pixabay.com/photos/nail-polish-nail-gel-fingernails-2112366/
Now that your gels are popping and your tools are ready, it’s time to level up—and nothing does that better than nail tips and forms. Think of them as your blank canvas, giving you the freedom to sculpt, extend, and create nails that make clients say, “Wow, these are amazing!”
Nail Tips – Instant Length, Instant Glam
Nail tips are pre-shaped extensions you glue onto natural nails before layering gel or acrylic. They’re perfect if:
- Your client wants long nails in a flash
- You’re learning the ropes and want something easy to work with
- You need a quick service that still looks professional
They come in all the trendy shapes — coffin, stiletto, almond, square — so you can deliver whatever your client dreams of. Pro tip: start with a mixed pack to cover the most popular shapes without overstocking your kit.
Nail Forms – Sculpt Like a Pro
Forms are sticky guides placed under the natural nail to sculpt extensions directly with gel or acrylic. Why you’ll love them:
- They let you create custom lengths and curves
- Perfect for clients who want that natural-looking extension
- Reusable if handled carefully, so they’re budget-friendly
- Forms are ideal for creative freedom—think of them as a playground for your nail artistry. With the right form, you can sculpt anything from a delicate almond tip to a dramatic stiletto masterpiece.
Pro Tips for First-Time Nail Parlors:
- Start small: Buy a couple of packs of tips and a few forms—you don’t need the rainbow of everything at first.
- Mix and match: Use tips for quick, length-boosting services and forms for custom sculpting or creative designs.
- Keep extras handy: Store them in your portable bag so you never get caught mid-service without the right size.
- Experiment: Your first nail parlor is the perfect place to test shapes and styles. What’s trending today could be your signature tomorrow.
- Fun thought: nail tips and forms are like magic wands for your fingers. With a little skill and imagination, they transform plain nails into eye-catching works of art—and you? You become the artist everyone is talking about.
Nail Glue & Primers – The Secret Weapons for Long-Lasting Nails
You’ve got your tips, forms, gels, and brushes all ready—but here’s the reality: without nail glue and primer, even the fanciest manicure can fail. These two are the unsung heroes that hold your work together and make clients keep coming back.
Nail Glue – Lock It Down
Nail glue is the superglue for nails—it bonds tips, extensions, and even nail decorations to the natural nail. At Roniki, you can get the popular YDD glue for just Ksh 200, a reliable and budget-friendly choice for first-time nail techs.
Why it’s a must-have:
- Quick-dry: Perfect for beginners—fast and mess-free
- Strong bond: Keeps tips and decorations secure
- Easy to use: Just a small amount goes a long way
Pro tip: Always apply glue on clean, dry nails. Too much glue = messy; too little = peeling. Find the balance and you’re golden.
Primer – The Undercover Hero
Primer is like a magic potion for nails. It removes oils, strengthens adhesion, and helps gels or acrylics stick better and last longer. Skipping primer is like building a house without a foundation—looks good at first, but won’t last. For beginners:
- Use a bonding or dehydrating primer depending on the client’s nails
- Apply a thin, even coat—less is more
- Let it dry fully before applying tips or gel
Pro Tips for First-Time Nail Parlors:
- Keep your glue and primer within easy reach during services
- Always check expiry dates—old glue or primer = weak hold
- Start with one quality glue and one primer; no need to overcomplicate your kit
- Teach clients simple aftercare—avoiding water or harsh chemicals for a few hours protects your work
Fun fact: Nail glue and primer are the silent heroes of every manicure. They don’t sparkle, but without them, your nail art could peel away like a bad magic trick.
With YDD glue from Roniki and a good primer in your kit, your nails aren’t just beautiful—they’re durable, professional, and Instagram-worthy. First-time nail parlor owners, this is the secret weapon for repeat clients and rave reviews.
Nail Art Brushes, Dotting Tools & Sponges – Bring Your Creativity to Life
By now, your kit is shaping up nicely—UV lamps curing your gels, tips and forms ready to sculpt, and glue and primer locking it all in place. But here’s the thing: without the right nail art tools, your nails are just… plain. Enter nail art brushes, dotting tools, and sponges—your secret weapons to turn simple manicures into mini masterpieces.
Nail Art Brushes – Precision Meets Personality
- These aren’t just brushes—they’re your paintbrushes for expression. With the right brush, you can:
- Draw delicate flowers that make clients feel fancy
- Create geometric or abstract designs for a modern, edgy look
- Perfect French tips or tiny details that scream professional
- Start small—a set of detail, striping, and flat brushes is enough for first-time nail techs. Keep them clean, and they’ll last through dozens of manicures.
Dotting Tools – Tiny Dots, Big Impact
- Dotting tools may look simple, but they’re the ultimate design hack. You can use them to:
- Make polka dots, mini hearts, stars, and tiny flowers
- Add precise accents for trendy, eye-catching designs
- Combine with brushes and sponges for unique patterns
- Pro tip: grab a double-ended tool—two dot sizes in one, perfect for beginners trying to save space and budget.
Sponges – Your Gradient and Glitter Hack
- Sponges are the magic behind gradients and ombre nails. With them, you can:
- Blend colors for flawless ombre effects
- Add glitter fades that sparkle just right
- Create watercolor or marble textures for that custom, high-end finish
- Cut cosmetic sponges into small pieces, and you have endless possibilities for creative, budget-friendly nail art.
Pro Tips for First-Time Nail Parlors:
- Start with a small, versatile kit—few brushes, 2–3 dotting tools, and a couple of sponges.
- Experiment and combine tools to develop your signature designs.
- Keep everything clean and organized—a messy kit can ruin your vibe.
- Follow trending designs like florals, geometric patterns, marble, ombre, and glitter fades to attract clients and boost your social media presence.
- Think of these tools as your creative playground. With them, your first-time nail parlor can go from basic to breathtaking, turning every manicure into an experience your clients can’t stop talking about.
Wrapping Up – Your First Nail Parlor, Your Creative Playground
And there you have it! With your portable bag, gel polish sets, files, buffers, clippers, UV/LED lamps, oils, primers, brushes, dotting tools, sponges, tips, and forms, you’re officially ready to start your first nail parlor on a budget and deliver professional, eye-catching manicures.
But remember, this is just the foundation. Once you get comfortable, you can start adding fun extras like:
- Rhinestones and crystals for that glam sparkle
- Stickers and foils for trendy, custom designs
- Chrome powders and glitters for Instagram-worthy finishes
These little touches will let you stand out, showcase your creativity, and keep clients coming back for more.
The best part?
Starting small doesn’t mean you can’t dream big. With these must-have tools and a sprinkle of creativity, your nail parlor can grow into a thriving, profitable business, one gorgeous manicure at a time.
Now the big question: how much will it cost to get started without going broke?
Don’t worry, I’ve broken it down so you can see exactly where your money goes.
Budget Breakdown for First-Time Nail Parlors
| Item | Estimated Cost (Ksh) | Notes |
| Portable Bag | 1,000 | Durable, keeps everything organized |
| Gel Polish Set (Roniki base, top, colors) | 350 each | Start with a small selection |
| Files & Buffer Blocks | 30 & 50 | Grab multiple for smooth workflow |
| Nail Clippers / Manicure Set | 400 | Or buy individually (Cuticle cutter 30, Pusher 50) |
| UV/LED Lamp | 1,000 – 10,000 | Start with a personal-use lamp; upgrade later |
| Cuticle Oil / Massage Cream | 200 – 400 | Essential for finishing touches |
| Acetone & Antiseptic | 150 – 300 | Keeps nails clean & safe |
| Nail Brushes, Dotting Tools & Sponges | 150 – 500 | Small starter kit is enough |
| Nail Tips & Forms | 200 – 400 | Enough to handle 5–10 clients initially |
| Nail Glue & Primer (YDD Glue) | 200 | Lock those nails in place |
Estimated Total: ~ Ksh 5,000 – 20,000 for a basic starter kit
(Optional extras like rhinestones, stickers, foils, chrome powders, and glitters may add another 500–1,500 depending on how creative you get.)
Budget-Friendly Tips:
- Buy smart, start small: You don’t need every color or tool at once. Focus on essentials and grow your kit as your client base grows.
- Mix & match brands: Start with affordable, quality options like Roniki gels and brushes—upgrade later as your business picks up.
- DIY extras: Glitter mixes and sponges can be repurposed or cut to save costs without compromising quality.
Here’s the good news: you can start your first nail parlor for under 5,000 Ksh—and with creativity, skill, and smart planning, your business can grow fast, bringing in real income while keeping clients impressed.
Remember: it’s not about having every single tool on day one—it’s about having the right essentials, using them well, and adding little luxuries as you go. Your first nail parlor is your playground—paint it, create, and watch your small investment turn into a thriving business!
So grab your tools, get creative, and remember: every nail you paint is a chance to make someone’s day brighter—and maybe even start your own nail empire!